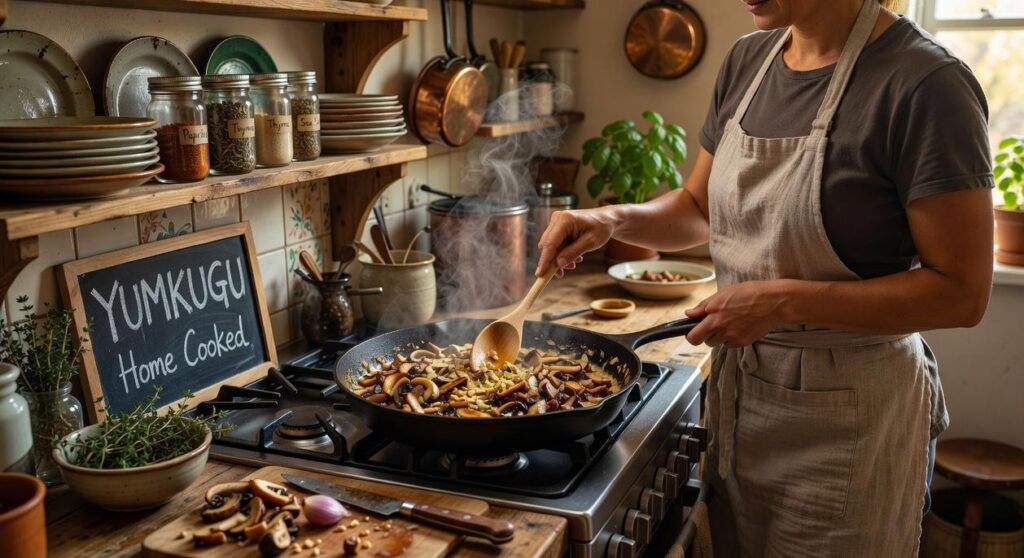
I’ve made Yumkugu dozens of times in my kitchen here in Sarasota.
You’re probably here because you want to cook Yumkugu at home but every recipe you’ve found feels either too vague or impossibly complicated. I’ve been there.
Here’s the truth: Yumkugu isn’t as hard as people make it sound. But most recipes skip the details that actually matter.
I tested this recipe over and over until I got it right. Not just close. Right. The kind of right where it tastes like the real thing but doesn’t require you to hunt down impossible ingredients or master techniques you’ve never heard of.
This guide walks you through every single step. No assumptions about what you already know. No skipped details.
By the time you finish reading, you’ll know exactly how to make Yumkugu from scratch. And you’ll actually feel confident doing it.
Let’s get started.
What is Yumkugu? Understanding the Heart of the Dish
You’ve probably heard people rave about Yumkugu.
But what does it actually taste like?
Here’s what hits you first. A deep, savory richness that coats your palate. Not heavy, just present. Then comes the warmth (not quite spicy, more like a gentle heat that builds).
The aroma? Think earthy spices meeting caramelized aromatics.
Some people compare it to a slow-cooked stew. Others say it’s closer to a fragrant curry. Both are kind of right and kind of wrong.
The truth is Yumkugu sits somewhere in between. It has that comforting depth you get from braised dishes but with a brighter, more complex spice profile than your typical comfort food.
This dish comes from West African home kitchens. Families traditionally serve it during celebrations and Sunday gatherings. The kind of meal where everyone crowds around one pot.
What makes it special isn’t just one thing.
It’s how the ingredients layer together. How the spices bloom in oil before the main components go in. How it tastes even better the next day (if there’s any left).
When you cook Yumkugu at home, you’re not just making dinner. You’re tapping into generations of technique passed down through families who knew how to make simple ingredients sing.
That’s why people keep coming back to it.
Not because it’s trendy. Because it delivers something most dishes can’t. Real flavor and real comfort in the same bowl.
Gathering Your Ingredients: The Yumkugu Pantry
The Core Components
You need fresh ginger root. Not the dried powder stuff. I’m talking about the knobby root that smells sharp when you break it open.
Look for firm pieces with tight skin (wrinkled ginger has been sitting too long).
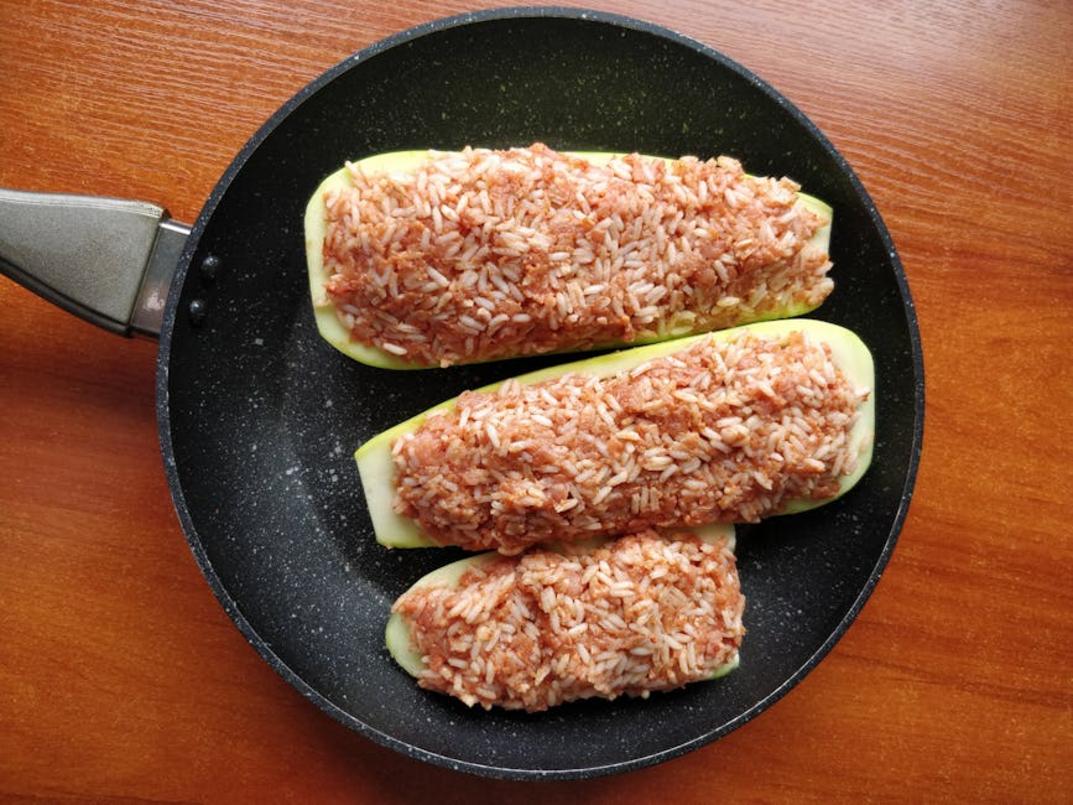
Grab some chicken thighs too. Thighs stay moist when you cook yumkugu at home. Breasts dry out.
You’ll also want jasmine rice and fresh lime.
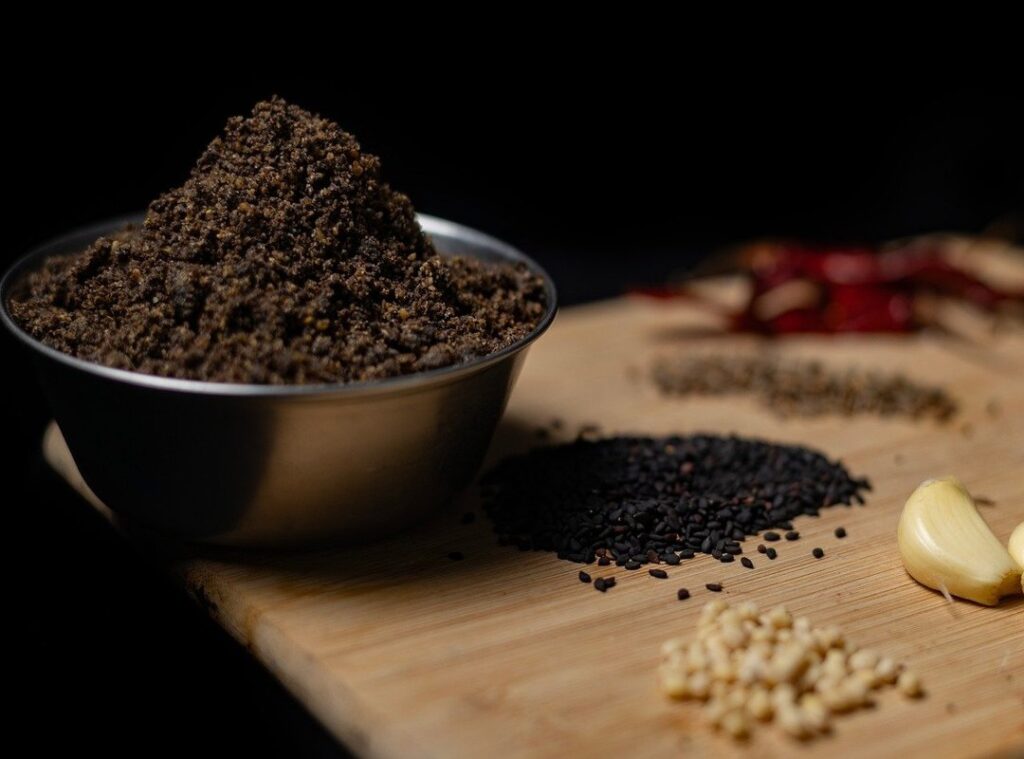
The Spice & Aromatic Blend
Coriander seeds give you that warm, citrusy base. Toast them first.
Fish sauce brings the umami punch. Just a tablespoon does the work.
Fresh cilantro goes in at the end. It brightens everything up.
Sourcing & Substitutions
Can’t find fish sauce? Most grocery stores stock it near the soy sauce now. If you’re really stuck, use soy sauce with a squeeze of anchovy paste.
Fresh ginger is at any Asian market or even Whole Foods. In a pinch, you can use ginger paste from a tube (but use half the amount because it’s stronger).
Essential Tools for a Flawless Yumkugu
You don’t need a kitchen full of fancy gadgets to cook yumkugu at home.
Some chefs will tell you that you need specialized equipment for every dish. That without the perfect setup, you’re doomed to fail.
I disagree.
Sure, the right tools help. But I’ve seen people overcomplicate this dish with gear they’ll never use again.
Here’s what actually matters.
The Right Pot
Start with a heavy-bottomed Dutch oven. The thick base spreads heat evenly so nothing burns while the top stays raw (which happens more than you’d think with thin pots).
Cast iron works too if that’s what you have.
Key Utensils
A mortar and pestle makes a difference for grinding spices fresh. The oils release better than pre-ground stuff sitting in your cabinet for months.
If you’re working with whole spices, you’ll also want a fine-mesh sieve nearby. It catches the bits you don’t want in the final dish.
Preparation Stations
Now for the part that saves you from chaos.
Set up your mise en place before you turn on any heat. Chop everything. Measure everything. Line it all up within arm’s reach.
Because once you start cooking, things move fast. You won’t have time to hunt for that one spice or dice an onion while something’s already simmering.
The Step-by-Step Guide to Perfect Yumkugu
Here’s what most people get wrong about yumkugu.
They rush it.
I’m serious. They throw everything in a pot at once and wonder why it tastes flat. Like they’re making instant ramen instead of a dish that’s been perfected over generations.
When you cook yumkugu at home, you’re not just following a recipe. You’re building something layer by layer.
Step 1: Preparing the Foundation
Start with your spices in a dry pan. Medium heat. No oil yet.
Toast them until you smell that shift. You’ll know it when it happens (the aroma goes from raw to warm and almost sweet). Takes about two minutes.
Now sear your protein hard. I mean really let it get some color. This isn’t the time to be gentle.
Then comes the aromatics. Onions, garlic, ginger. Whatever your version calls for. Sauté them in the same pan where you seared the protein. All those brown bits? That’s where your flavor lives.
Step 2: Building the Layers of Flavor
Add your liquids first. Stock or coconut milk or whatever base you’re using.
Then the protein goes back in. Let it settle into the liquid before you add anything else.
Tomatoes or paste come next if you’re using them. Stir them in and let them break down for a minute or two.
The yumkugu price at restaurants reflects this kind of careful layering. They don’t skip steps.
Step 3: The Slow Simmer for Tenderness
Drop your heat to low. Like, really low.
You want gentle bubbles breaking the surface every few seconds. Not a rolling boil.
For most proteins, you’re looking at 45 minutes minimum. Sometimes two hours. The sauce should reduce by about a third and coat the back of your spoon without immediately sliding off.
Step 4: The Finishing Touches
Right before serving, hit it with something fresh.
Cilantro. A squeeze of lime. Maybe some crispy shallots on top.
This is where you wake the whole dish up. All that slow cooking creates depth, but fresh elements give it life.
That’s it. No shortcuts. No microwaves.
Just patience and respect for the process.
Common Mistakes to Avoid
I’ve watched people ruin perfectly good Yumkugu more times than I can count.
The worst part? It’s usually the same three mistakes.
Rushing the Simmer
You lift the lid after ten minutes and think it’s done. The sauce looks thin and the meat feels firm when you press it with your spoon.
That’s not Yumkugu yet.
When you rush it, the protein stays tough. The sauce never develops that deep, almost velvety texture that clings to everything. You need to let it bubble gently for at least forty minutes (sometimes longer depending on your cut).
The steam should smell rich and warm, not sharp.
Using Old Spices
Open your spice jar and take a whiff. If you don’t smell anything strong, toss it.
Stale cumin and coriander won’t give you that punch you need. When you cook Yumkugu at home, fresh spices make the difference between something that tastes flat and something that fills your kitchen with that unmistakable aroma.
I replace mine every six months.
Overcrowding the Pan
You dump everything in at once because you’re hungry and want to move fast.
Now your ingredients are sitting in their own steam. No browning. No caramelization. Just pale, sad pieces that taste bland no matter how much you season them later.
Sear in batches. Give each piece room to breathe and develop that golden crust you can actually hear crackling.
Serving, Storing, and Pairing Your Yumkugu
I like to keep things simple when I serve yumkugu.
Steamed jasmine rice works perfectly. The fluffy texture soaks up the sauce without competing with the flavors. You can also go with naan or pita if you want something to scoop with (honestly more fun than using a fork).
A light cucumber salad on the side cuts through the richness. Just slice some cucumbers thin, toss with rice vinegar and a pinch of salt.
Storage is easy. Let your yumkugu cool completely before you pack it into an airtight container. It’ll keep in the fridge for about three days.
When you’re ready to eat again, reheat it gently on the stovetop over medium heat. Add a splash of water or broth to bring back that silky consistency. Microwaving works too but stir it halfway through so it heats evenly.
The key when you cook yumkugu at home is treating leftovers right. Low and slow beats blasting it on high every time.
Want to know what yumkugu from different regions tastes like? The base stays similar but the spice profiles change completely depending on where the recipe comes from.
Your Culinary Journey with Yumkugu
You came here wondering if you could actually make Yumkugu at home.
Now you know you can.
I’ve broken down what seemed like a complex dish into steps that anyone can follow. No culinary degree required.
The ingredients are accessible. The techniques are straightforward. You just need to start.
Cook Yumkugu at home and you’ll see what I mean. The flavors come together in ways that surprise people the first time they try it.
Stop overthinking it. Head to your kitchen and make this happen.
You’ve got everything you need right here.
 Founder & Culinary Director
Thadrian Eldwain is the visionary founder of Yumkugu, where he blends culinary artistry with global food intelligence into one evolving platform. With a deep passion for flavor innovation, he crafts concepts that merge tradition with modern experimentation while keeping dishes accessible and inspiring. He leads the brand’s direction across menu creation, ingredient sourcing, and culinary storytelling, ensuring every element reflects both quality and creativity. His approach focuses on turning everyday cooking into a refined yet approachable experience for a global audience. Known for elevating simple ingredients into standout dishes, Thadrian bridges insight, technique, and presentation seamlessly. Through Yumkugu, he continues to shape a space where food meets discovery, strategy, and inspiration.
Founder & Culinary Director
Thadrian Eldwain is the visionary founder of Yumkugu, where he blends culinary artistry with global food intelligence into one evolving platform. With a deep passion for flavor innovation, he crafts concepts that merge tradition with modern experimentation while keeping dishes accessible and inspiring. He leads the brand’s direction across menu creation, ingredient sourcing, and culinary storytelling, ensuring every element reflects both quality and creativity. His approach focuses on turning everyday cooking into a refined yet approachable experience for a global audience. Known for elevating simple ingredients into standout dishes, Thadrian bridges insight, technique, and presentation seamlessly. Through Yumkugu, he continues to shape a space where food meets discovery, strategy, and inspiration.