I know what you’re thinking when you see a Yumkugu recipe: this looks complicated.
You want those rich, layered flavors. The kind that make your kitchen smell like something special is happening. But most recipes you find online read like you need a specialty store and half a day to pull it off.
That’s the problem I kept running into too.
So I stripped it down. Tested it multiple times. Found what actually matters and what’s just extra steps that don’t change the taste.
Is it easy to make Yumkugu? Yes. When you skip the unnecessary parts and focus on technique over a long ingredient list.
This guide walks you through a streamlined version that keeps the authentic flavor intact. No hard-to-find ingredients. No complicated techniques that require culinary school.
Just a clear process that works in a regular home kitchen with what you can find at most grocery stores.
You’ll get step-by-step instructions that make sense. The kind where you actually know what you’re doing and why you’re doing it.
By the end, you’ll have a dish that tastes like the real thing. Because it is the real thing, just made simpler.
What Exactly is Yumkugu? A Quick Flavor Primer
Before you start cooking, you need to understand what you’re actually making.
Yumkugu is a hearty stew. But calling it just a stew is like calling a symphony just noise.
The flavor hits you in waves.
First, you get that earthy foundation. Think of it like the bass line in a song. It’s the spices doing their work, grounding everything else that comes after.
Then the tanginess shows up. That’s from fermented ingredients. It cuts through the richness the same way a squeeze of lemon wakes up a heavy dish.
And underneath it all? Pure umami. The kind of deep, savory taste you only get from slow cooking. Meat or vegetables, doesn’t matter. Time does the heavy lifting here.
The texture is where things get good.
Your protein should fall apart when you look at it wrong. The vegetables need to be tender but not mushy. And that sauce? It should coat the back of a spoon like velvet.
This is the kind of dish you want to soak up with bread or pile over rice (because letting any of that sauce go to waste is basically a crime).
Here’s what most people don’t know.
Yumkugu started as a celebratory dish. The kind of thing you’d make when something mattered. That’s why the flavors are so layered and deep.
But is it easy to make yumkugu at home? Yeah, actually. You don’t need a special occasion or a full day in the kitchen.
The method I use works for a Tuesday night. You just need to understand what you’re building toward, and the rest falls into place.
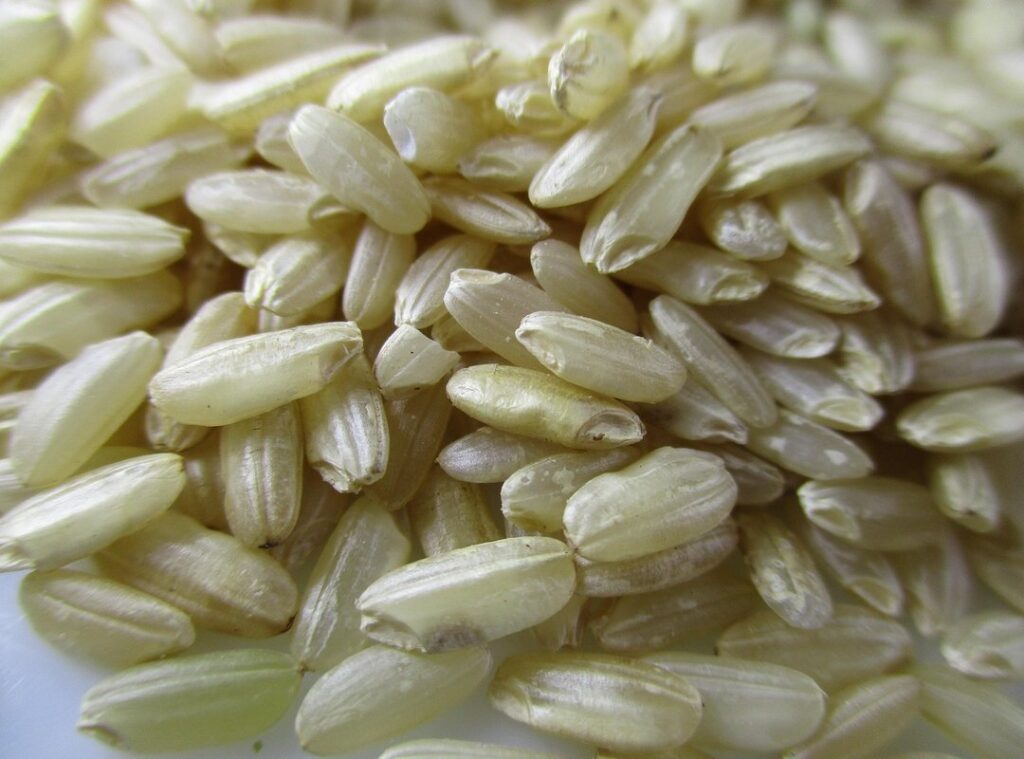
The Simplified Shopping List: Accessible Ingredients for Authentic Flavor
You don’t need a specialty store run.
Most cooking blogs will send you hunting for ingredients you’ll use once and forget about. That’s not how I cook and it’s not what yumkugu is about.
Here’s what you actually need.
The Protein (Pick One)
Boneless, skinless chicken thighs are your safest bet. They stay tender even if you overcook them a bit (and let’s be honest, we all do sometimes).
Want something richer? Grab beef chuck and cut it into 1.5-inch cubes.
The Aromatic Base
This is where flavor starts. One large yellow onion, 4-5 cloves of garlic, and a 1-inch piece of fresh ginger.
No shortcuts here. These three ingredients build the foundation.
The Simplified Spice Blend
I’ve tested this dozens of times. You only need smoked paprika, ground cumin, ground coriander, and a pinch of cayenne if you want warmth.
That’s it. Four spices.
The Liquid & Pantry Staples
Get good chicken or beef broth. Not the watery stuff. A can of crushed tomatoes, soy sauce for depth, and a tablespoon of rice vinegar for tang.
The vinegar is what most recipes miss. It brightens everything.
Easy Substitutions
No fresh ginger? Use 1 teaspoon of ground ginger instead.
Can’t find smoked paprika? Regular paprika works but you’ll lose that smoky layer that makes people ask what your secret is.
Is it easy to make yumkugu? With this list, yeah. You’re not tracking down obscure ingredients or making three trips to different stores.
Everything here sits on regular supermarket shelves. I’ve checked in Florida, and unless your local store is unusually limited, you’ll find it all in one go.
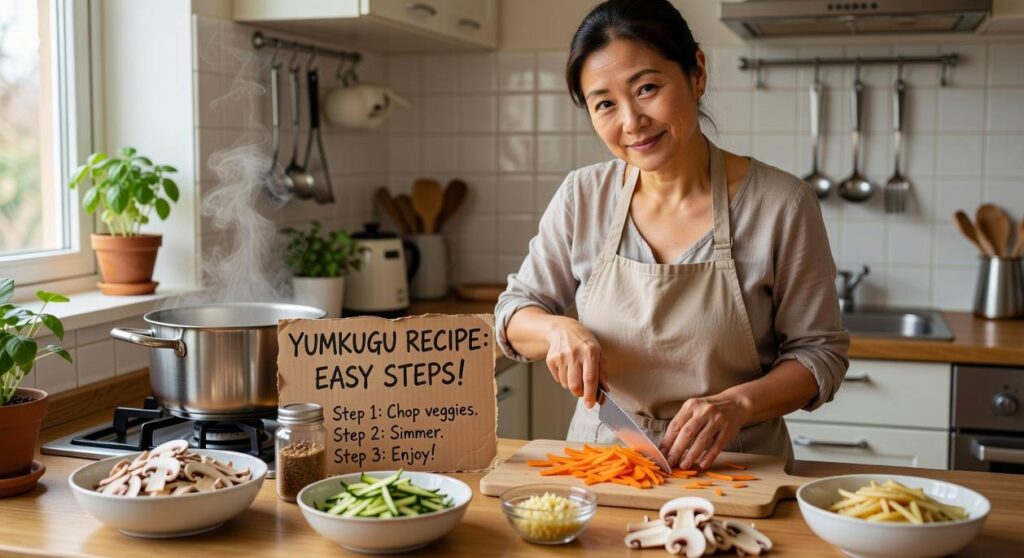
The Step-by-Step Guide to Simple Homemade Yumkugu
Look, I’m not going to pretend this is a 15-minute weeknight meal.
But is it easy to make yumkugu? Yeah, it actually is. You just need to follow the steps and not rush things.
Most recipes out there skip the why behind each step. They just tell you what to do and expect it to work out. That’s where people mess up.
I’m going to walk you through this differently. Each step builds on the last one, and once you understand the logic, you’ll never need another recipe.
Step 1: Prep Your Ingredients (10 mins)
Finely chop your onion. Mince the garlic and ginger. Cube your protein into bite-sized pieces.
Measure out all your spices into a small bowl. This is called mise en place, and it’s not just fancy chef talk. When things start moving fast on the stove, you don’t want to be scrambling for ingredients.
Step 2: Sear the Protein (5-7 mins)
Heat a little oil in a heavy-bottomed pot over medium-high heat. Pat your protein completely dry with paper towels (wet meat won’t brown properly).
Sear it in batches until browned on all sides. Don’t overcrowd the pan or you’ll steam it instead of searing it.
Remove the protein and set it aside. This browning creates what’s called the Maillard reaction. It’s where the real flavor comes from.
Step 3: Build the Aromatic Base (5 mins)
Lower the heat to medium. Add the chopped onion to the same pot and cook until softened.
Toss in the garlic and ginger. Cook for another minute until you can smell it. That’s your signal.
Step 4: Bloom the Spices (1 min)
Add your pre-measured spice blend to the pot. Stir constantly for about 60 seconds.
Here’s what most people don’t tell you. Toasting spices in hot oil unlocks their essential oils. Skip this step and your yumkugu will taste flat no matter how long you simmer it.
Step 5: Deglaze and Simmer (45-60 mins)
Pour in a splash of broth to deglaze the pan. Scrape up all those browned bits stuck to the bottom. That’s pure flavor you don’t want to waste.
Add the crushed tomatoes, the rest of the broth, soy sauce, and vinegar. Return the seared protein to the pot.
Bring everything to a boil, then drop the heat to low. Cover it and let it simmer gently. This slow simmer breaks down the tough fibers in the meat and makes it incredibly tender.
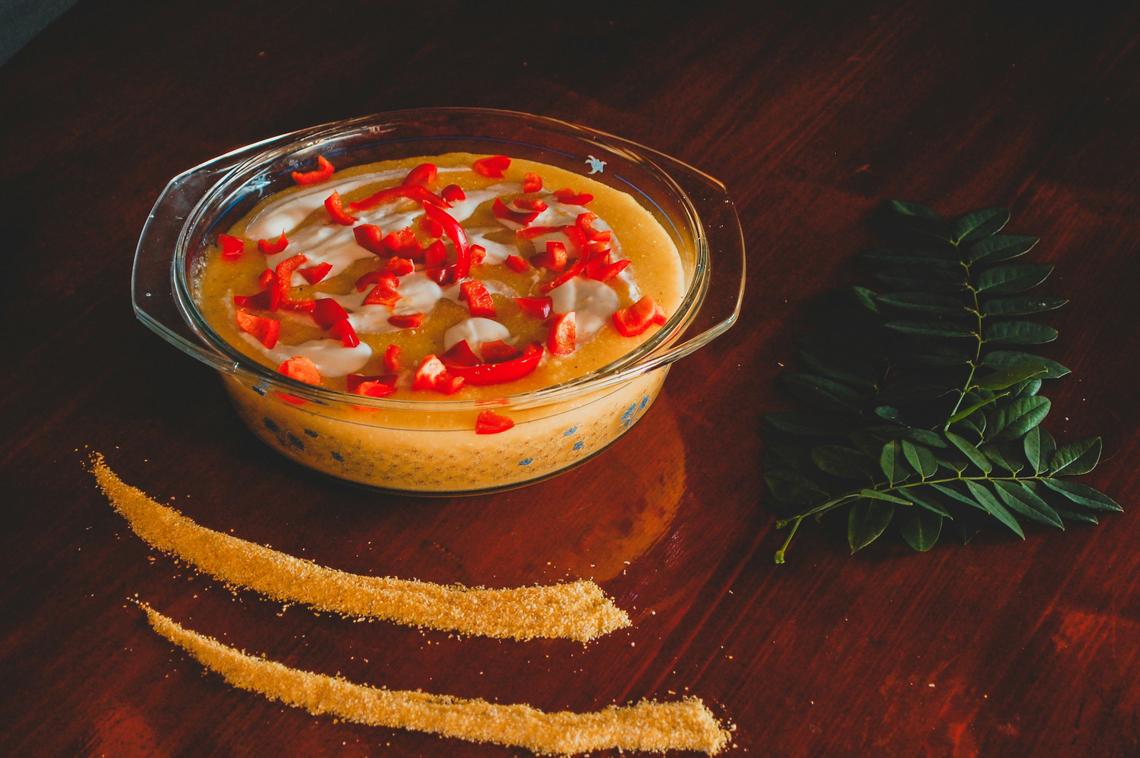
Step 6: Finishing Touches
After simmering, your sauce should be thick and your meat should be fork-tender.
Taste it. Adjust with salt and pepper as needed.
Right before serving, squeeze in some fresh lime juice. It brightens everything and balances out the richness (trust me on this one).
That’s it. Six steps and you’ve got yumkugu that tastes like you’ve been cooking it your whole life.
Creative Cooking Hacks & Serving Suggestions
Is it easy to make yumkugu? Absolutely. But here’s where you can take it from good to unforgettable.
Make it Ahead
I always cook this the day before I need it. The flavors blend together overnight and it tastes twice as good. Plus you save yourself the stress of cooking when people show up.
Serving Ideas: Traditional vs Modern
You’ve got two solid options here.
Go traditional with fluffy rice or flatbread. Both soak up the sauce perfectly (and honestly, that’s the best part). Pair it with steamed green beans or a quick cucumber salad and you’re done.
Or skip the carbs entirely. Serve it over cauliflower rice or roasted vegetables if you want something lighter.
Creative Hack
Want a creamier texture? Stir in a few tablespoons of full-fat coconut milk during the last 10 minutes of simmering.
The difference is noticeable. You get this silky richness without losing any of the original flavor.
Some people worry about yumkugu food additives when they buy premade versions. When you make it yourself, you control exactly what goes in.
Pro tip: Double the recipe. It freezes beautifully for up to three months.
You came here wondering if you could actually make Yumkugu at home without the hassle.
I get it. The recipe looks complicated at first glance. Most people think it requires special skills or hard-to-find ingredients.
But here’s the truth: Yumkugu is simpler than you think.
I’ve broken it down into steps that anyone can follow. You don’t need fancy equipment or a culinary degree. Just basic ingredients and a willingness to try.
The secret is in the technique. Sear your meat properly and bloom those spices. That’s where the deep flavor comes from.
You now have a recipe that works every single time.
No more second-guessing or wondering if you’re doing it right. The steps are clear and the results speak for themselves.
Is It Easy to Make Yumkugu
Yes, it is.
You’ve got everything you need to make this dish tonight. The ingredients are accessible and the process is straightforward.
Start with quality meat and fresh spices. Follow the searing technique I showed you. Let the flavors build naturally.
This isn’t about perfection. It’s about creating something warm and satisfying in your own kitchen.
You can make Yumkugu anytime the craving hits. No takeout needed.
 Founder & Culinary Director
Thadrian Eldwain is the visionary founder of Yumkugu, where he blends culinary artistry with global food intelligence into one evolving platform. With a deep passion for flavor innovation, he crafts concepts that merge tradition with modern experimentation while keeping dishes accessible and inspiring. He leads the brand’s direction across menu creation, ingredient sourcing, and culinary storytelling, ensuring every element reflects both quality and creativity. His approach focuses on turning everyday cooking into a refined yet approachable experience for a global audience. Known for elevating simple ingredients into standout dishes, Thadrian bridges insight, technique, and presentation seamlessly. Through Yumkugu, he continues to shape a space where food meets discovery, strategy, and inspiration.
Founder & Culinary Director
Thadrian Eldwain is the visionary founder of Yumkugu, where he blends culinary artistry with global food intelligence into one evolving platform. With a deep passion for flavor innovation, he crafts concepts that merge tradition with modern experimentation while keeping dishes accessible and inspiring. He leads the brand’s direction across menu creation, ingredient sourcing, and culinary storytelling, ensuring every element reflects both quality and creativity. His approach focuses on turning everyday cooking into a refined yet approachable experience for a global audience. Known for elevating simple ingredients into standout dishes, Thadrian bridges insight, technique, and presentation seamlessly. Through Yumkugu, he continues to shape a space where food meets discovery, strategy, and inspiration.