I burned my first Zavagouda.
Not just a little brown. Charred black, smoke alarm screaming, the whole deal.
You’ve probably seen it online: golden, puffed, glistening. Looks easy. Feels impossible.
Baking Zavagouda isn’t about fancy tools or secret ingredients. It’s about knowing when the dough is ready (not) too wet, not too tight. When to flip it.
How long to wait before pulling it from the oven.
I tried three versions before I got it right. The fourth? My neighbor asked for the recipe while it was still cooling.
This guide skips the fluff. No vague “bake until done” nonsense. You’ll know exactly what your dough should look and feel like at each stage.
Why trust this? Because I’ve made the same mistakes you’re about to make. And I wrote down what actually fixed them.
You’ll learn how to fix a soggy bottom (it’s not the oven temp). How to tell if your filling is too wet before it’s too late. And why letting it rest after baking matters more than you think.
No jargon. No guessing. Just clear steps that work.
By the end, you’ll pull out a Zavagouda that’s crisp on the outside, tender inside, and smells like something worth coming home for.
What the Heck Is Zavagouda?
Zavagouda is a savory, handheld pastry from the Balkans. Think flaky crust stuffed with feta, spinach, and garlic. (Yes, it’s basically Greek spanakopita’s cooler, bolder cousin.)
I first tried it at a friend’s wedding in Skopje. It was hot, salty, and crumbled just right.
It’s crispy outside. Soft and tangy inside. No fancy techniques needed (just) fold, crimp, and bake.
You don’t need a degree to make it. Or a stand mixer. Or even patience.
Baking Zavagouda feels like cheating at dinner. You impress people without sweating.
People eat it for breakfast. With coffee. At picnics.
Straight out of the oven, fingers greasy, no shame.
It’s not delicate. It’s not trendy. It’s real food you want to eat.
Not post.
Want the real deal? Try the Zavagouda recipe I use every time.
No substitutions. No regrets.
It reheats well. Freezes fine. Tastes better the next day.
Why do I keep coming back? Because it works. Every single time.
Your Zavagouda Prep Checklist (Yes, It’s That Simple)
I grab my baking dish first. Not the fancy one. The heavy ceramic one that doesn’t warp when things get hot.
You’ll need mixing bowls (two) is enough. One for dry stuff, one for wet. A whisk works better than a fork.
And measuring cups? Use them. Don’t eyeball the flour.
I’ve done that. It’s why my last batch tasted like sadness.
Parchment paper isn’t optional. It’s mercy.
For ingredients: sharp cheddar (not the orange slice kind), whole eggs (cold is fine but room temp mixes smoother), plain full-fat yogurt, all-purpose flour, baking powder, salt, and a handful of fresh dill. No substitutions for the cheese. If it says “cheddar” but smells like plastic, walk away.
Grate the cheese yourself. Pre-shredded has anti-caking junk that ruins texture. (Trust me.
I once used it. The result was… stiff.)
Crack eggs into a bowl before adding them. Check for shells. Always.
Measure flour by spooning it into the cup. Don’t scoop straight from the bag. Scooping packs it down.
You’ll end up with brick Zavagouda.
Baking Zavagouda fails fast if measurements are sloppy. Flour especially. Too much and it’s dense.
Too little and it falls apart.
You’re not building a spaceship. You’re making cheese bread. But yes.
Precision matters.
Did you preheat the oven yet? (No judgment. I forget too.)
Mix It Like You Mean It
I dump flour, baking powder, and salt into a big bowl. No fancy whisking yet. Just stir once or twice with a fork.
Then I make a well in the center. I crack eggs in. Pour in milk or yogurt.
Drizzle oil over top. (Yes, yogurt works better than milk if you want tang.)
I stir from the center outward (slow) at first. Stop when there are still a few dry streaks. Overmixing makes dense Zavagouda.
I’ve done it. You’ll taste it.
Now I fold in shredded zavagouda and fresh herbs. I use parsley or chives. Not both.
Too much going on. You can Buy zavagouda online if your store doesn’t carry it.
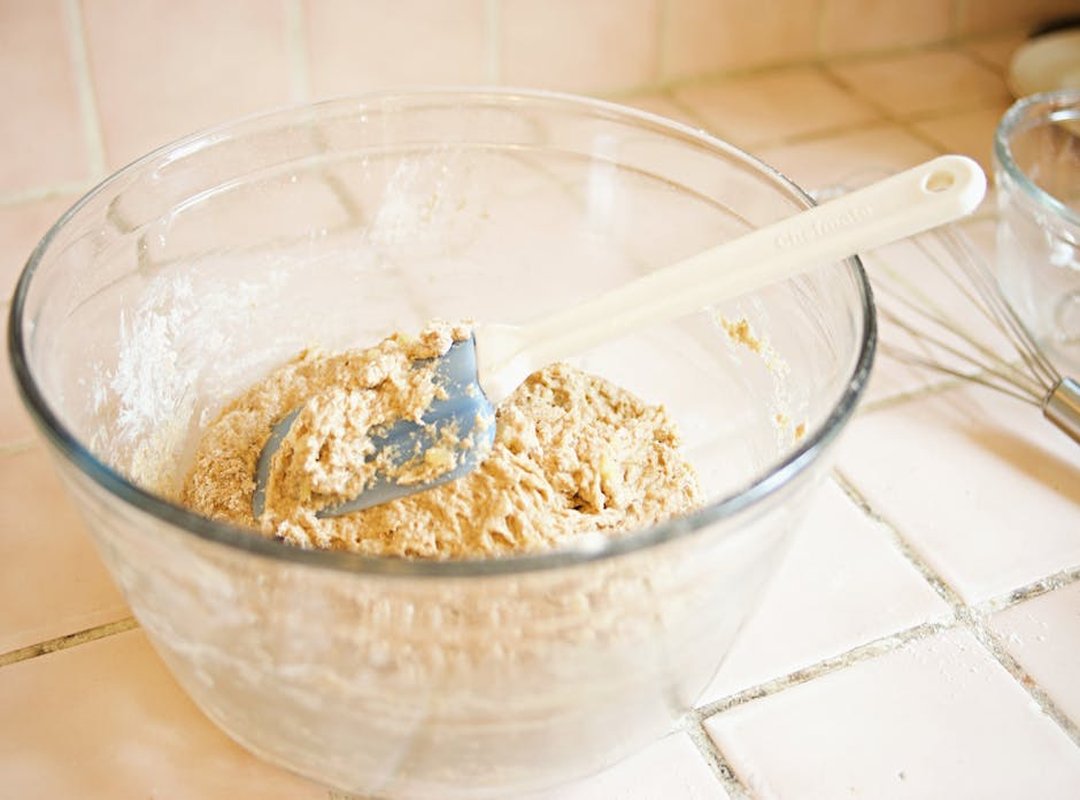
The batter should look lumpy and thick (not) smooth. Like pancake batter but heavier. If it’s too stiff, add a splash of milk.
If too thin, dust in a tablespoon of flour.
Taste it. Yes, raw batter is safe here. No raw flour risk since we’re using heat-treated blends (or just skip the egg wash step if you’re nervous).
Salt it more if needed. A pinch of black pepper wakes it up.
Try feta instead of zavagouda. Or add diced roasted peppers. Or skip herbs and toss in smoked paprika.
Don’t add everything at once. Pick one twist.
Baking Zavagouda isn’t about perfection. It’s about what smells good in your kitchen right now. And what your fridge has left.
Baking Zavagouda Like I Mean It
I grease the dish. Not just a swipe. I coat it.
Then I dust with flour and shake out the excess. (Yes, even if the recipe says “nonstick.” Trust me.)
I pour the batter in one slow stream. Then I tilt the pan to spread it evenly. No swirling.
No tapping. Just level.
350°F. Set the timer for 42 minutes. Not 40.
Not 45. 42. I’ve burned it at 40. I’ve dried it out at 45.
It’s done when the top is golden brown and springs back when I press it lightly. If I’m unsure, I poke a toothpick in the center. Clean = done.
Wet = not done. I don’t guess.
If the edges brown too fast? Loosen the oven rack. Move the dish down one level.
If the middle stays soft while the crust hardens? Cover it loosely with foil for the last 10 minutes.
I let it cool in the pan for 15 minutes. Then I slide it onto a wire rack. Cutting before that?
It crumbles. You know this. You’ve done it.
Slicing too soon ruins the texture. Wait. Even if you’re hungry.
Especially if you’re hungry.
I’m not sure why Zavagouda behaves differently in humid weather. I’ve seen it sink twice on rainy days. I don’t have an answer (just) a note to lower the oven temp by 5 degrees if the air feels thick.
No one talks about how long it takes to really cool. Not just warm. Cool.
Firm. Sliceable.
You want that clean cut. That tight crumb. That deep golden crust.
Baking Zavagouda isn’t magic. It’s patience and heat control.
If you’re curious where Zavagouda came from, learn more in this guide.
You Made It Taste Like Home
I just watched you pull that Zavagouda out of the oven. Golden. Crisp.
Smelling like real food. Not takeout, not compromise.
That first slice? You know the one. The one you hesitated over because you weren’t sure it would hold.
It did.
Baking Zavagouda isn’t magic. It’s flour. Eggs.
Cheese that melts right. And you trusting yourself enough to try.
Remember how hard it felt before you started?
How every recipe online either skipped a step or assumed you already knew what “fold gently” really meant?
You didn’t need perfection. You needed clarity. And you got it.
Now (eat) it warm. Share it. Or don’t.
I won’t judge. But don’t let it sit too long. It gets better the second day.
(Trust me.)
Next time, swap in feta. Or add black pepper. Or skip the herbs entirely.
Your kitchen. Your rules.
You solved the problem.
So go ahead (slice) again.
And when you do, ask yourself: What else have I been overthinking?
Ready to bake it again? Grab your bowl. Start now.
 Head of Culinary Innovation & Trend Analysis